Showing posts with label organization. Show all posts

Sunday, August 16, 2026

Monday Meanderings 8 - 17 - 2026

Have you checked the date recently?  I just realized we are half way through August.  How can that be?  I need to get hopping on some projects especially the monthly UFO challenge. I'm still attempting to get the July project -- finishing a top including 8 or 10 new 6" blocks -- done. August is putting a set of blocks into a top.  That one may still happen when I head down to Sharon's house the last full week of August. Fingers are crossed though.  Now on to my goals this week. 

8/10/26

✅Make progress on Idiom challenge — minimal but it will continue to grace my goals until it is done! 

✅Find border fabric and put on Hen & Her Chicks — done!

✅Empty two project boxes — one was emptied and immediately filled with Marigold Mystery fabrics and blocks. 2 of the 9 blocks for August were completed. 

✔️Finish string quilt top — Taking the paper off the rows is very time consuming. Two have been sewn together.

✅✅Quilt 2 quilts one for me, one for quilt guild — both were for the guild. 

✔️Continue making 6” blocks for Aug July UFO Challenge — one done several block choices were decided. 


Here's Hens and Her Chicks.  FYI -- the 9 patches are made with 1.5" unf. squares. I used them as leader enders for a long time.  Then they sat until I cut the extra pieces and took it to a retreat in October '25. I didn't do anything on it until the July retreat this year when I put it together, except for the borders. I generally put borders on at home where I can spread out more.  This quilt came from Quilts for the Heart by Karin Renaud.  There are a few more patterns in that book that I want to make so I'll have more leader enders to do over the next few years. (Yep it'll take me a while to get more of these quilts made considering all the UFOs I have.) Hopefully I can find a backing fabric for this 👇🏼 top -- soon!


No filled project box to share but I can show the fabrics that I stashed in it. 


From left to right dark teal will be the accent fabric. The orange is a wide back that will be general background fabric. The beige will be the blocks background.  The smaller pieces of the fabric on the top and bottom of the orange are for the blocks.  Since this picture I've added a few more pieces. (Actually, I removed the dark green on the far right of the upper section as it didn't look right...not enough blue in it.) These fabrics are all for Meadow Mist Designs newest mystery quilt, Marigold Mystery.  You can find out all about it here. Or click on the Mysteries tab at the top of the blog and then click on Marigold Mystery.  It's going to be another great event. 


Here's the second quilt I quilted for my local guild.  Both quilts are destined to be wheelchair quilts. I used Omni grey thread and Quick and Easy Swirls by My Creative Stitches.  And, yes, it was really fast.  I thought this was a cool pattern. I'm guessing the pattern used a jelly roll. But I don't know for sure as I just quilted it. 


Here's what I'm hoping to make progress on this week.

8/17/26

Quilt one of my quilts

Plan projects for in-home retreat in NC 

Start sewing the Idiom Challenge project

Make more blocks for July UFO

Make Marigold Mystery blocks

Continue hand quilting fall applique block


I've continued to sew something every day this week.  It's great to be retired and be able to sew to my heart's content. Here are the stats!

Week ending 8/16/26: 228 days of 2026.

 227 stitching days out of 228 days 99.5%


I've continued to work on my hand quilting project.  You can see more of the project here and a complete picture here. Today's picture is a closeup of one of the appliqués. I've finished 4 designs completely. After I finish this one 👇🏼 only 4 more are left.  

Some, like this one are more involved but there are a few more fairly easy ones left to do.  Once all of these designs are outlined I'll be able to put the binding on it. It sounds like there may be a finished UFO in the next couple of weeks.  It will look great on the holder above the fire place this fall. 

Time to remind everyone of the Linky parties.  Check these blogs out. 


I thought I'd share the last bunch of fat quarters I bought from Connecting Threads. I really like having colorful bundles of go-with fabrics. I get the daily Stash Saver email from CT and sometimes I purchase these great fat quarters. For the time being I've put these in their own box. Don't they make you want to use them? 


How about telling us how you store your fat quarters.  Do they go by color with your yardage? Do you keep them in a drawer?  For the last 20 years or so I keep my fat quarters in box tops.  When I was working I was in an elementary school where a LOT of paper was used.  The paper cases were fairly large as 2 stacks of reams were in each box and these boxes came with lids.  I started saving them and using them for fat quarters. I have a Longerberger basket (or two) that I also used for fat quarters.  Here's what some looked like in our old house. 


If I ever clean up my current shelves and box tops I'll take a picture to share.  They are all a mess now.  Dare I admit that my stack of blue fabrics is so high I can't add anymore to it? -- It's hit the bottom of next shelf up! 


Hope you can stay cool this week. Our temps aren't all that bad but the humidity is oppressive. 


Happy Quilting All! Bonnie 

Wednesday, April 22, 2015

15 Minute Studio Spiff Up #16

It's time to move on to another area to consider spiffing up.  This may not seem like it belongs with the Studio Spiff Up items but really, it will help you out.  This week's area is 

Spiff Up your computerized files where you've stored all your quilting ideas.

Now that we've (well, ok, you) have organized almost your entire studio it's time to organize your quilting/sewing/embroidery files on your computer. 

My major file for quilty things on my computer is called "Quilting Updated 8 .15 .11."  I reorganized my files in 2011 and used the date to identify my up-to-date file from my older file.  I've tried to keep myself organized but it hasn't happened in every area.  


This is a section of my quilting file.  I've tried to make files for my major areas.  Into those files go individual items or files as appropriate.  Here is a list of some of my files -- mostly ones that are full of subfiles. 
Applique Blocks/Quilts; Aprons; Block of the Months, Bonnie Hunter Quilts, Christmas Crafts/Quilts; Holidays; Misc. Projects or Gifts; Mug Rug Patterns; Mysteries by Others; Mysteries for Relay; Pieced Quilts; Pillowcases; Purses and Bags; Quilting Tips; Quiltville Quilts; Scrap Quilt Instructions; Sewing Patterns Not Quilts; and Table Runners.  These are a start.  I do tend to look at the various items in my files from time to time.  

In addition to the major category Quilting Updated 8. 15. 11 I have a file for Machine Embroidery that includes designs and another for tips.  I keep all my embroidery designs on my Macintosh because it is my primary computer.  When I want to use a design I put it on my thumb drive and transfer it to the sewing machine's computer.  I do the same thing with designs for my long arm.  By doing this, especially for my long arm designs, I actually have a back up file.  

One thing I use as a surf the web and find something I really like is a PDF converter.  I use Web 2 PDF.  I can't change anything on the web page and the resulting file is often clunky to scroll through but it does help me find tutorials, blocks and quilts I like.  

We will be winding down our 15 minute Studio Spiff Up soon.  I have a few more categories that still need work on.  Let me know if there is some area you think we should try to do.  I'll be happy to add it one of these weeks.  I've had pretty good luck keeping my cutting tables free of too much junk and scraps recently.  In fact yesterday I trimmed up and stored several pieces of fabric left over from the backing of a quilt.  

Happy Quilting All!  


Sunday, October 12, 2014

A Clean Slate

When I returned from the retreat last week I knew I had to do something to my cutting table.  I had fabrics piled on the edges, around the front.  I was lucky if I could use a 9" ruler to cut anything. 

I buckled down and worked my way through lots of the scraps littered on both sides of the table.  The side closest to the ironing board I also cleared of all papers and miscellaneous tools and assorted junk items no longer being used. Unfortunately I didn't take any before pictures. But I've taken two pictures to show the after. 
First up is my collection of squares and strips after I cut for a couple of days.  I usually cut squares at 1 1/2", 2" and 2 1/2".  This time I added some 3", 3 1/2", 4", 5" and maybe up to 6 1/2"  I have a shoe box I keep squares at 3 1/2" and bigger in.  My main strip sizes are 1 1/2", 2" and 2 1/2".  Again, I have a shoe box with 3 and 3 1/2" strips in it.  This cutting of scraps was made much easier by my purchase of a Gypsy Little Gripper. It was amazing to me how easy it was to position the ruler over the odd sizes of fabric I was using.  I found it at a quilt store near where we were retreating.  

When I am making blocks for the FCQ Equilters or block of the month lottery blocks I check my cut up squares and strips first.  Sometimes I can find what I want.  Other times I go to my fat quarter stash.  Because I have a long row of bookcases on a short wall I can use the top of the bookcases for my fat quarters.  I keep them folded, by color in baskets and box tops.  I have way too many fabrics there and I keep trying to use up some and thus need less box tops of baskets but it doesn't seem to work.  I still have some fat quarters and bits and pieces of fabric I can not put in the containers.  Sigh.  Maybe another scrap quilt should be in my future. Oh, wait, I did just start a new one.  

Look at that wonderful expanse of clean cutting mat!  All of the things I like close by -- pin cushion, note pads, pens and pencils, and my chicken cushion for bigger pins are ready to go.  

Now to pick a quilt to work on.  And, may be, may be, I can keep this picked up better.  I'm not showing you the other side which was fairly well cleared of scraps at the same time but now hold vintage sheets, little girl's shirts and boxes of strips from the quilt guild.  Sigh. 

Happy Quilting All!  Is it time to clean off your cutting table? 

Wednesday, August 21, 2013

Thread Storage

I've found some place new to store my long arm thread.

This is an old media storage shelf.  We used to keep videos and dvd's on it.  Our great room just doesn't have all that much room for furniture and Raggs used to grab the videos off the shelves.  Really, why am I letting that dog run my life? 

These are large cones and luckily the unit holds all of my collection.  I had a good time putting them in rainbow order.  

Pat made some risers out of left over wood so I can easily see the front and back rows of the thread.  And, because he stained the wood to match the shelving unit you can't really see the risers.  


Here's a closeup of a shelf with two spools out so you can see the riser.  (I had the two cones out as I was quilting with them at the time the photos were taken.) I am really happy how well this worked for me.  If I had lots of thread I'm not sure this would have been so successful.  But as you can see I have room for at least 16 more king cones.  And, no sun light will hit where this is.  

As I put these up I realized I need a few more colors -- like a bright orange! This will be very convenient for me to keep up with what I might need at any time. 

I'm off to spend more time in the studio -- mostly sewing but I hope to spend a  half hour or so putting more things away.  We'll see if I succeed.  

Happy Quilting All! 


Wednesday, August 14, 2013

New Studio -- Cutting Table

Here are a few more pictures of the new studio -- the cutting table. 
Here's the cutting table when we were looking at the house to purchase. Well, we probably had already signed the contract by the time I took these pictures.  (Heck, it's the only one I had with nothing on the cutting table.) 
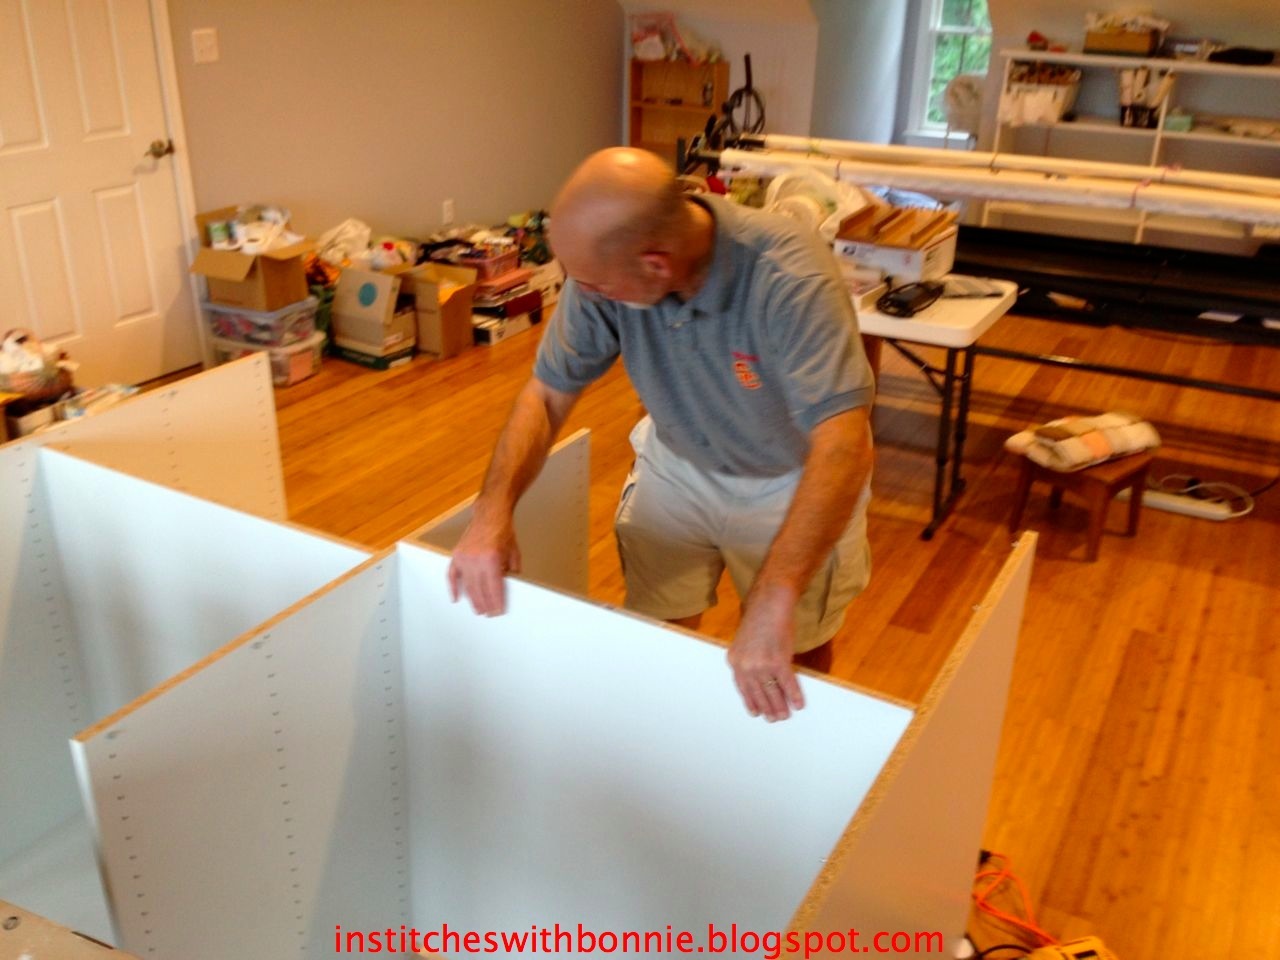
Pat beginning the process of putting it back together. Front right is mounds of stuff I hadn't put away yet. 
Fitting in the center divider.  The table is currently upside down.  We think this was custom made by a closet company. Don't look too much at the piles of junk supplies in the back ground.  
This top is really, REALLY heavy. I know because I had to carry part of it! Ooolala. My cutting table is almost ready to be used. 
I spent a bit of time trying to decide what to do with my bigger rulers.  I wanted them close to the cutting table.  I have 2 nice ruler racks but I really didn't want them on the close walls because one has a switch in the way and the other is going to be the design wall.  I had a true "light bulb" moment when I realized the rulers could fit in the cutting table, especially if I had a very short shelf.  The 24" rulers stick out a little bit but I haven't had a problem with that as I tend to cut from the other side. (I've pulled them out for this picture.)  I took these while I was cutting fabric & did not clean up the table. 
Here's the left side of it.  Notice I have two shelves now.  Pat made an extra one for each side.  On this, the left side, I'm storing my big rulers -- two 24" long ones, a 12.5" and a 15" square,  and two Shape Cut Pros from June Taylor. Underneath those are projects in progress. 
And, if a shallow shelf worked on one side, why not the other side?  I was all set to move that shelf down but another light bulb went off.  I have a couple of rolls of paper that is 15" wide and then there are rolls of embroidery stabilizer.  I'll only store the most popular stabilizers there. I've got way too many to put there. 
Roll storage top left with a shelf of scraps that need to be cut up and who knows what is under that.  On the right side is  batting storage for the long arm. The windows are behind the cutting table and wow!  The light is pouring in this morning.  I need to get some mini blinds so I can control how much light I get. 
A note on the windows. One thing we really wanted was high efficiency windows. So these five windows are supposedly designed to block damaging sun rays and to keep the heat and cold out.  I will probably do a test with a piece of black fabric to make sure the sun doesn't fade whatever is on the desk. I'll let you know. 
Here's the other side full of unfinished projects.  I need to change where I put the labels on the cases as most are covered by the handles.  Bottom shelf is all embroidery stuff.  Right side which isn't showing much are more unfinished projects. 
Here's a long view of the cutting table from the far side of the studio.  I have two cutting stations set up, my small ruler rack in the center & a few other things I like to have close.  
My great wish is that I keep both cutting stations free of too much clutter.  This smaller side got covered up with project pieces in the other room. As I started to clean off the top so it could be moved I found pieces and bits of projects that were two years old if not older.  Bad me!  I should be pretty motivated to keep it spotless (ok, I really only want it mostly neat) for the time being.

Plans are to get the boards to make a BIG design wall and the shelving for the closet today.  Look for a finished design wall by Monday.  

That's it for this morning. I'm hoping to get a Triangle Thursday post up tomorrow so I need to get the block made!  Happy Quilting All!